Some terminology
Before we dive in, it may help to lay out some terminology.
- Telegram user
Someone who uses Telegram to chat.
- mPACT user
(or simply “User” within the context of this mPACT documentation.) Someone who is able to log into the mPACT software.
- Superuser
An mPACT user who has the authority to create mPACT user accounts and to perform other administrative tasks.
- Chat group
A conversation via Telegram where messages are shared among all members of a group of Telegram users.
- Individual chat
A conversation via Telegram where messages are only shared between two Telegram users (also known as DM, direct messaging, or one-to-one).
- Bot
A Telegram user that is software, not a human. mPACT uses a bot to send messages to Telegram from mPACT users, and to show mPACT users the messages from other Telegram users.
Introducing the user interface
The first time the superuser logs in, they will see an empty user interface:
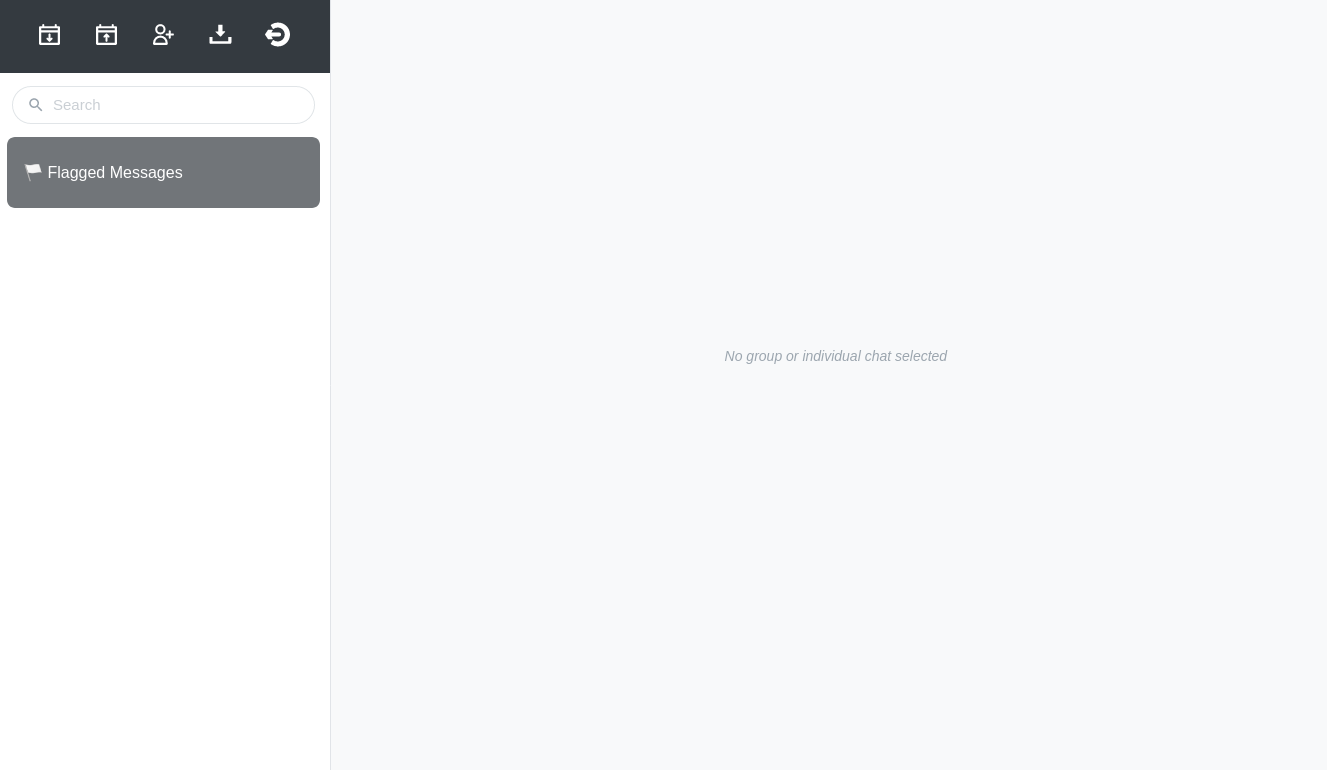
You can mouse over the icons in the top left to see what each one does.
A good place to start is to create a new chat group, which is handled by Telegram and not the mPACT application.
Creating a new chat group
In Telegram, open the menu and choose “New Group”.
Add the bot to the group. It will not appear as a contact. You will need to type its username (the same username as the BOT_USERNAME environment variable; for mPACT this is mpact_demo_bot).
Give your new group a name, and press the check mark to create the group.
Press the group name to see its members.
Long-press on the bot and select “Promote to Admin”, or press the edit button for the group, select Administrators, and add the bot as an admin. Otherwise the bot will be unable to see any messages from other members. .. KR: should this still be included?
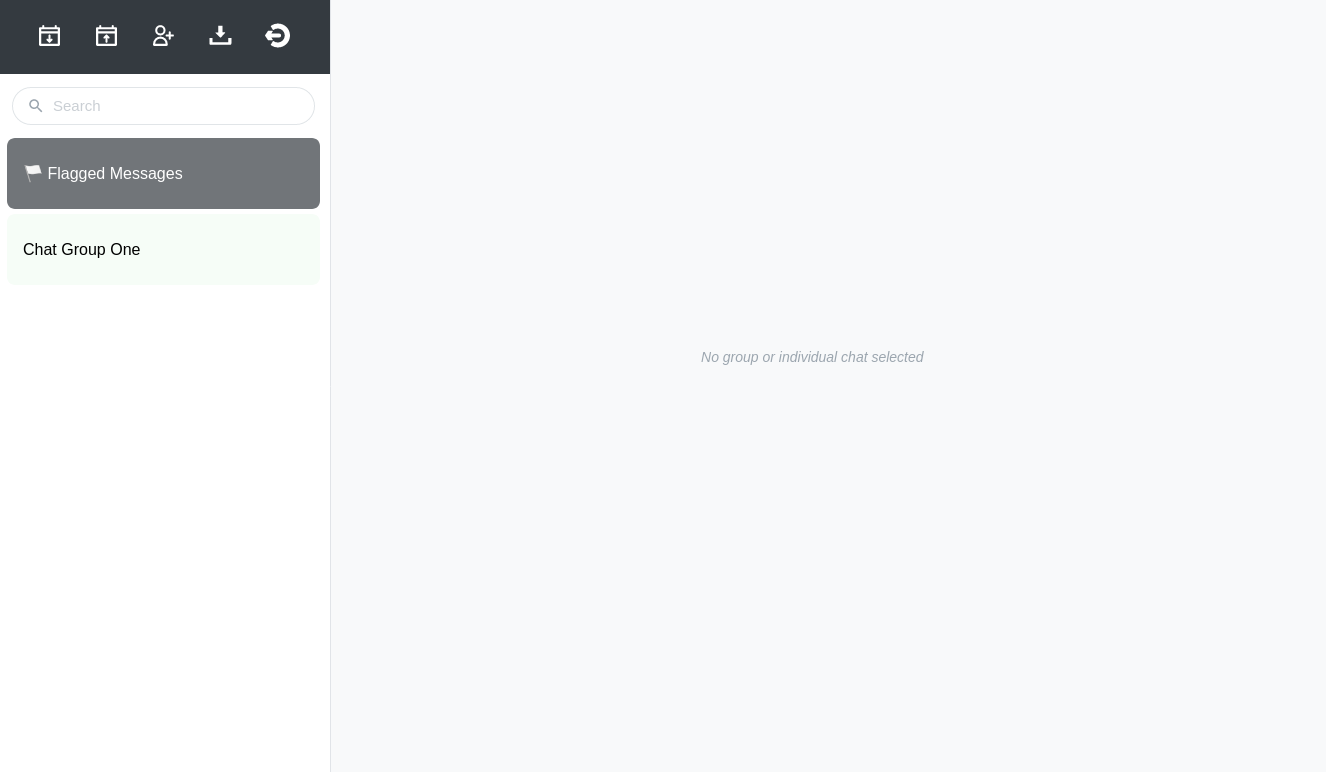
The bot will be notified of its new group, and the group will be added to the database. The next time you refresh the page or log into mPACT, the group will appear in the left panel.
Note
The bot needs to be added to the group at the same time the group is created. The web application currently only looks for the “chat created” event. If a bot is added to a group after it is initially created, the web application will never be aware of it and will disregard any incoming messages.
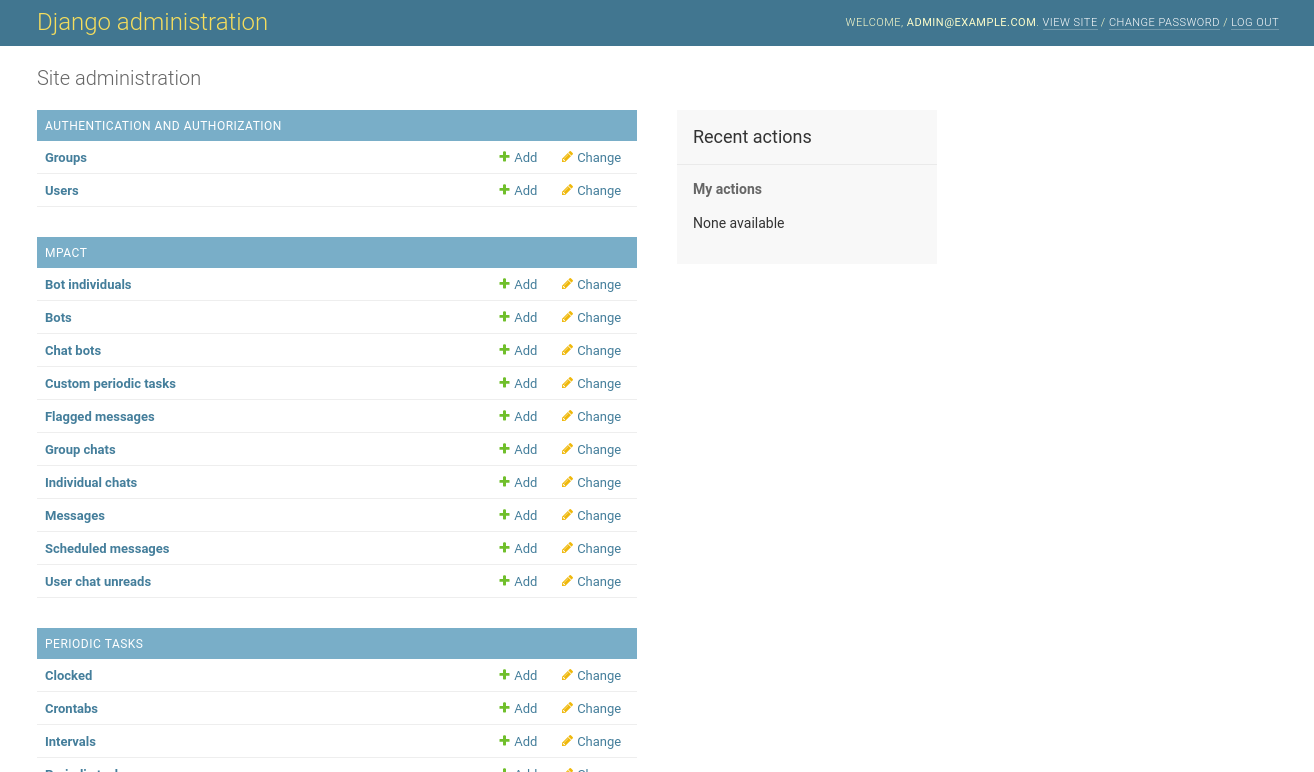
Introducing the admin interface
mPACT has a second interface, the admin interface, which gives superusers direct access to data. Normal users are not given a link to the admin interface. Superusers will need to navigate to it manually, by changing their browser’s URL to “…/admin/”. For example, if you are using the environment on Heroku, the URL will start with “http://mpact-demo.herokuapp.com/chat”. Change that to “http://mpact-demo.herokuapp.com/admin/” and log in as the superuser.
Scheduling
mPACT can send messages to a chat group on a schedule. These scheduled messages can be defined in Excel and uploaded to mPACT.
Chat groups have a “schedule start date” and a “schedule start time”. Each scheduled message is sent a given number of days after the chat group’s schedule start date. That number of days is specified in the spreadsheet for each message. The messages are sent at the start time.
An example can help to illustrate when a scheduled message will be sent: Imagine the “FansOfTen” chat group, who are sent messages at 10 AM starting on December 10. (They chose December because although it is the twelfth month, it is named for the number ten.) An administrator is late to upload the scheduled messages, and uploads them at 11 AM on December 10.
The first message has a day number of 0. It was intended to be sent at 10 AM on December 10. But because the spreadsheet was uploaded an hour after the first message was supposed to be sent, will the first message be sent immediately at 11 AM on December 10, or at 10AM the next day on December 11, or will it be skipped?
It will be skipped. To avoid accidentally sending or resending messages that were scheduled to be sent in the past, all past message schedules are skipped.
django-celery-beat is the library that manages the sending of
scheduled messages. When schedules are uploaded, once-off
PeriodicTask objects are created for each row in the schedule. These
will call tasks.send_msgs with the appropriate arguments for the
chat.
Creating schedules
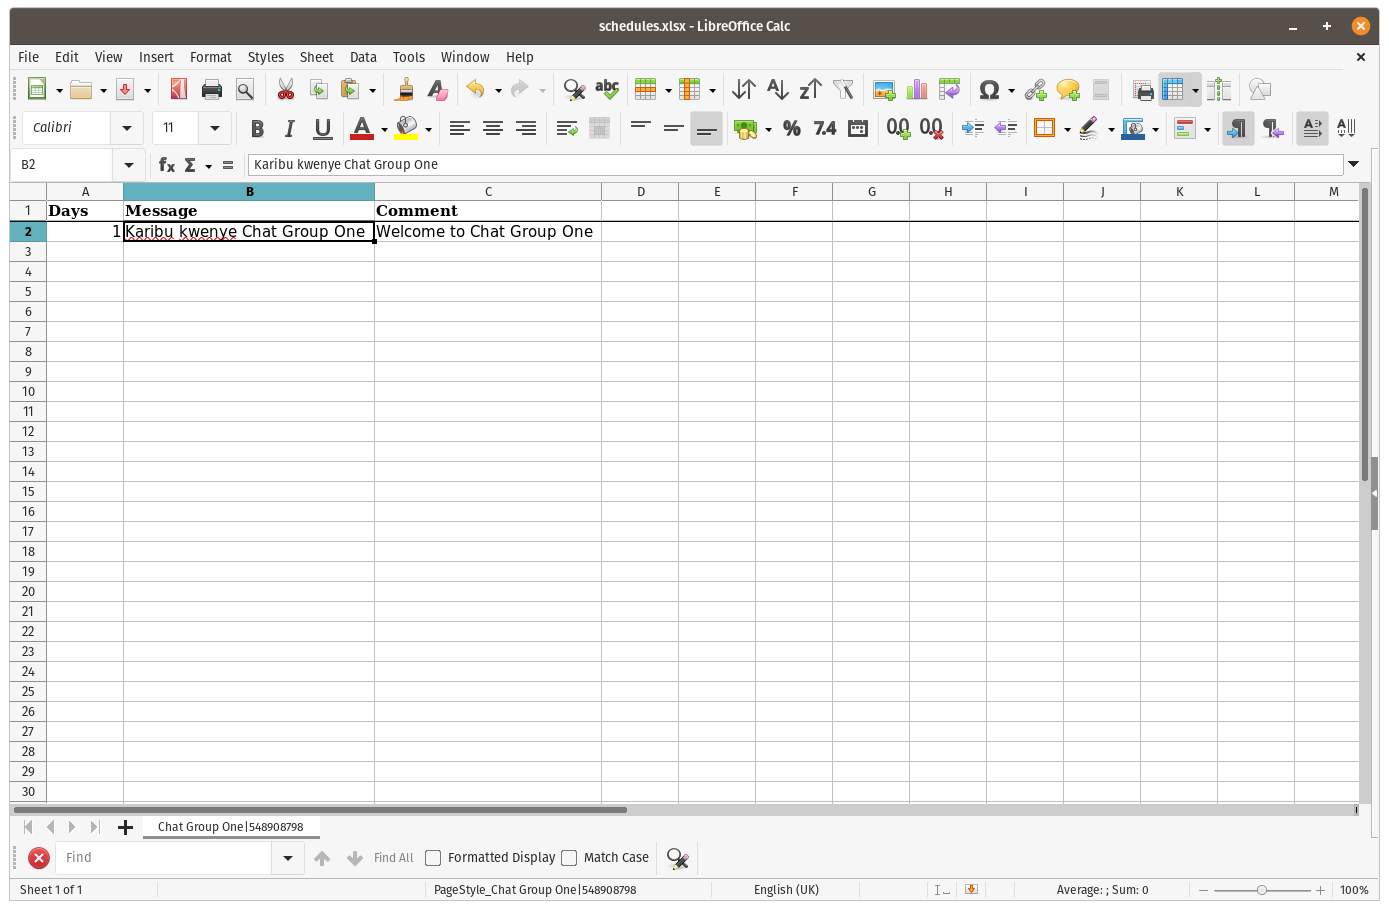
Click the “Download schedules” icon and save “schedules.xlsx”. Then open it in your spreadsheet application.
You will see that the sheet has three columns, “Days”, “Message” and “Comment”.
“Days” is the interval after which the message will be sent, in days, from the chat group’s “schedule start date”. The schedule start date defaults to the date the chat group was created. e.g. If a chat group’s schedule start date is 10 December, a “Days” value of “1” means that the message will be sent on 11 December.
“Message” is the message that will be sent.
“Comment” is any information that you or other administrators might find useful. This could be a translation of the message, if it is not in a language you can read, or maybe context that would help explain the message.
Each chat group has its own sheet. The sheet’s tab includes the name of the group and its Telegram ID.
It is important not to change the Telegram ID, otherwise mPACT will not know which group the messages are for, and will be unable to send the messages to the group.
In order for the spreadsheet to include the Telegram IDs of each chat group, the group must first be created, and then the schedules downloaded, for messages to be added.
When you are done, save the spreadsheet and upload it using the “Upload schedules” icon.
All previous scheduled messages are disabled when a new schedule is uploaded.
Schedules in the admin interface
Navigate to the admin interface.
Choose “Scheduled messages” under “MPACT”.
There you will see a list of the messages you uploaded. By using the box on the right, you can filter the list to show only the messages that are enabled.
If you click on a message, it will show you its details. Any changes that you make will update messages that are scheduled to be sent.
If you download schedules from the normal interface, you will see that any changes you made in the admin interface are present in the downloaded spreadsheet.
Starting schedules
Choose “Group chats”, also under “MPACT”, and click on a group chat to edit it.
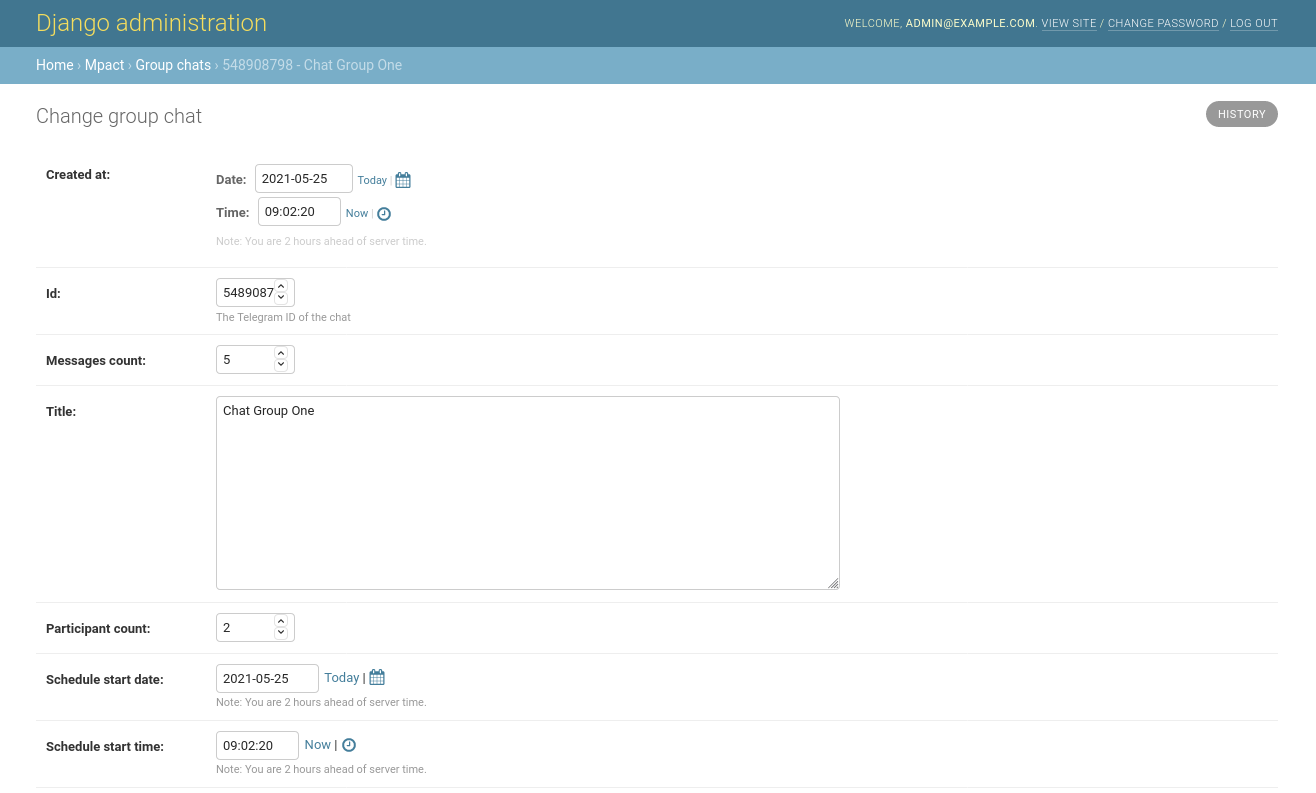
At the bottom of the form are two fields: “Schedule start date” and “Schedule start time”. Their default values are the date and time when the group chat was created, but you can change their values.
Change them to the date and time that marks the start of the schedule of this group chat’s scheduled messages. So a message that is scheduled to be sent after two days will be sent two days after the moment given here.
Use these fields to reset the schedule, or to change the time at which they are sent.
User management
mPACT users are managed with the admin interface.
Choose “Users” under “Authentication and Authorization”. You will see a list of users, and at first, it will include only your user.
To add a new user, click “Add user”. You will be prompted for their username and password:

Click “Save”, and then proceed to enter optional data about the user.
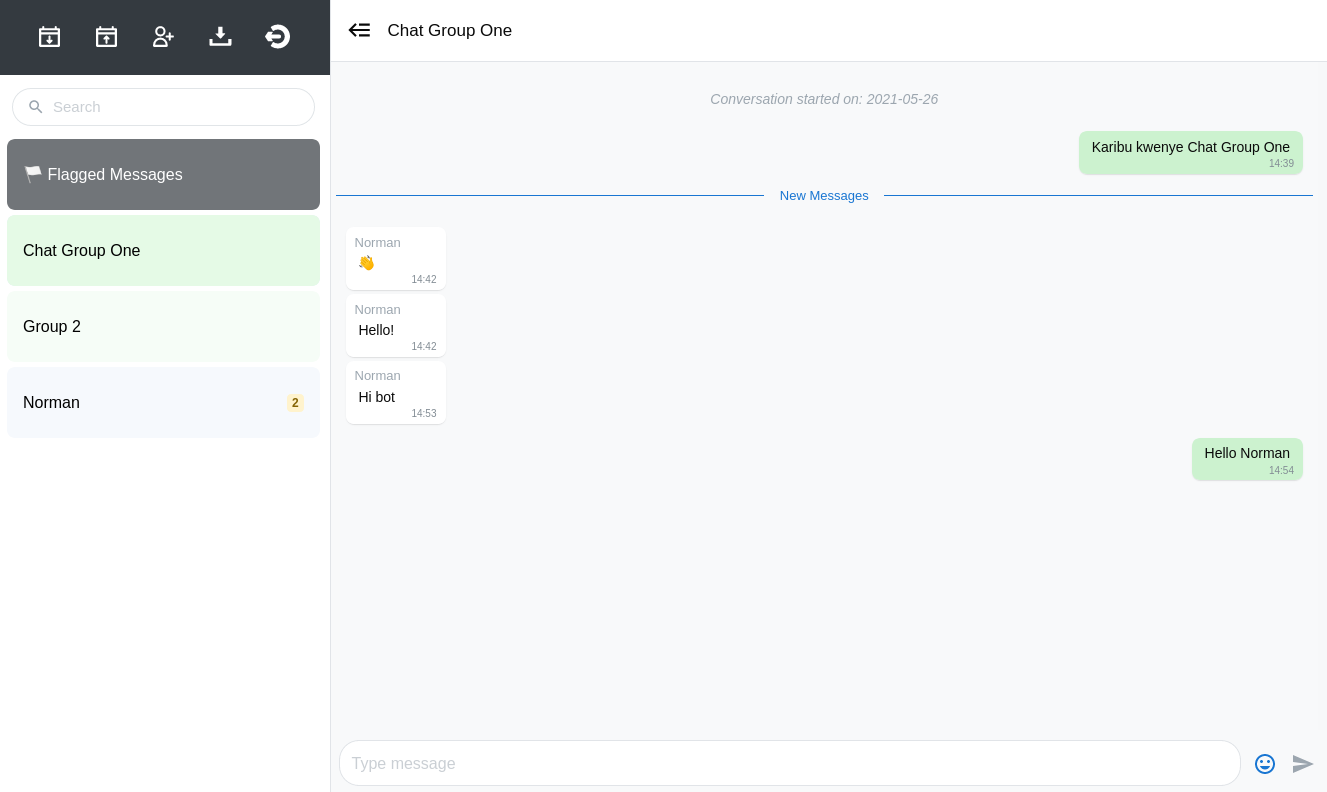
Users and chats
The mPACT chat interface shows all the chats that the bot is involved in. Users do not “own” chat groups. Every user can see the same chats. And messages that users send to a chat group or to an individual will appear to other participants as having been sent by the bot.
mPACT will keep track of unread messages for each user. For example, if Alice and Bob each have their own mPACT user account, messages that Alice reads will continue to appear to Bob as unread until Bob has read them.
User permissions
New users are marked “Active” by default. Users who are not active will not be allowed to log in, but their accounts remain in the database, and can be marked active again in the future.
Users with “staff status” are allowed to log into the admin interface. You can set what data they can see, and what data they can modify using the “user permissions” field below.
Users with “superuser” status can log into the admin interface and have all user permissions.
User groups
If you have different kinds of staff users, user groups make it easier to assign different sets of permissions to them.
Again under “Authentication and Authorization”, choose “Groups”.
Click “Add group” to create a new group. You can give it a name, and assign permissions to it:
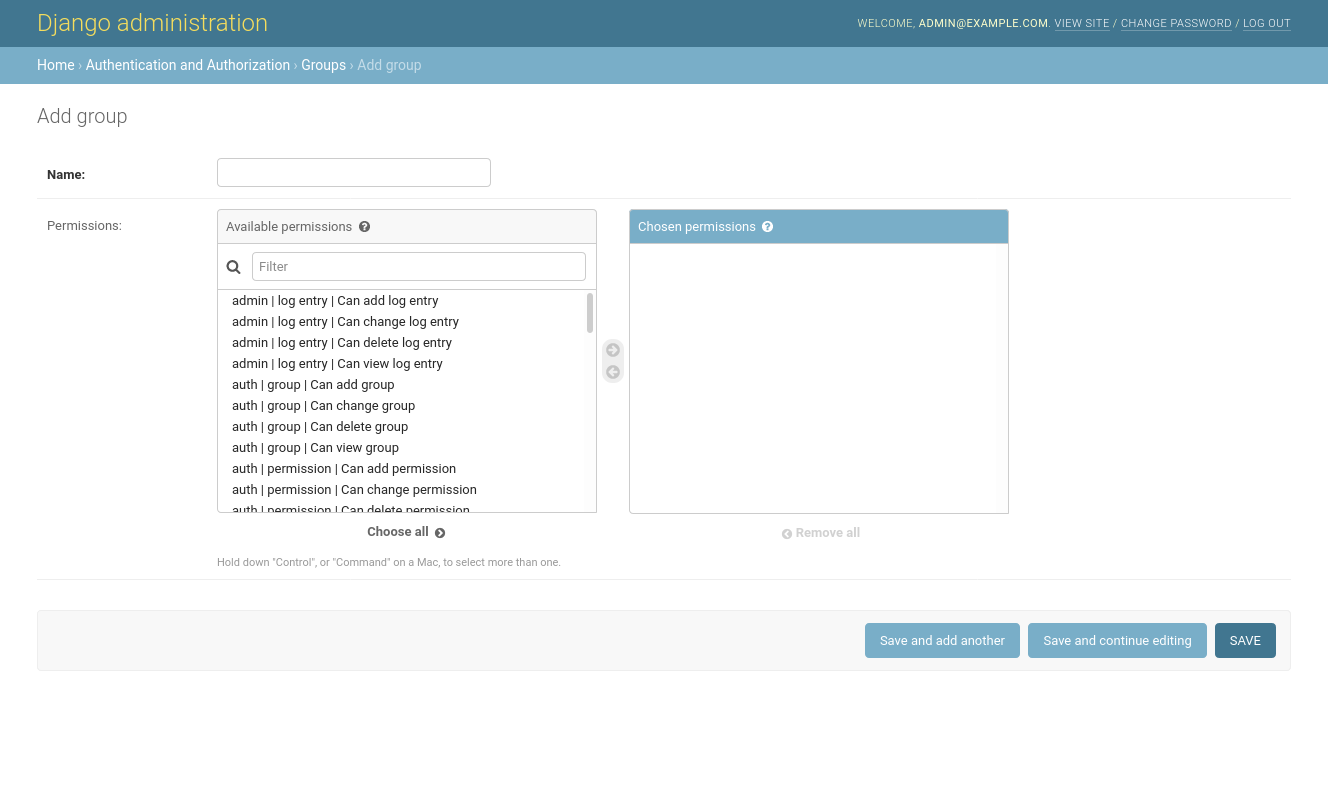
Now you can edit users and assign them to groups in order to grant them those groups’ permissions.
Individual chats
In order to engage with participants one-on-one, the participant must first message the bot directly. In order to do that, they can …
Within the group chat, press the bot’s name to open their details
Press the “message” icon
Send a message
The interface will not show a separate chat for the participant immediately. The next time you refresh the page or log into mPACT, an individual chat with the participant will appear in the left panel.
After that, messages from participants will appear as they are sent.
Uploading study participants
You can add participants to the study in bulk.
mPACT expects a spreadsheet in Excel 2007-365 (.xlsx) format. It will use the first worksheet. It looks for a column with the heading “Study ID”, and a column with the heading “Phone Number” (case sensitive). You can use this empty sample spreadsheet as a start.
Click the “Upload Study Participants” icon. You will be prompted for the spreadsheet.
mPACT does not store the phone numbers of participants. It uses the Telegram API to look up their Telegram ID. It will do this for each participant.
NOTE: The Telegram API will only return the Telegram ID of participants that have messaged the bot in the past. (Telegram does not allow bots to look up random people.) Thus, it is important to ask all participants to directly message the bot if their data is to be linked to the relevant Study ID. Participants must message the bot prior to the upload, but the upload can be done more than once with no issues.
Flagging messages
Flagging messages allows you to draw attention to specific messages for follow-up or for important content. Click the down arrow to the right of the participant’s name, and choose “Flag message”.
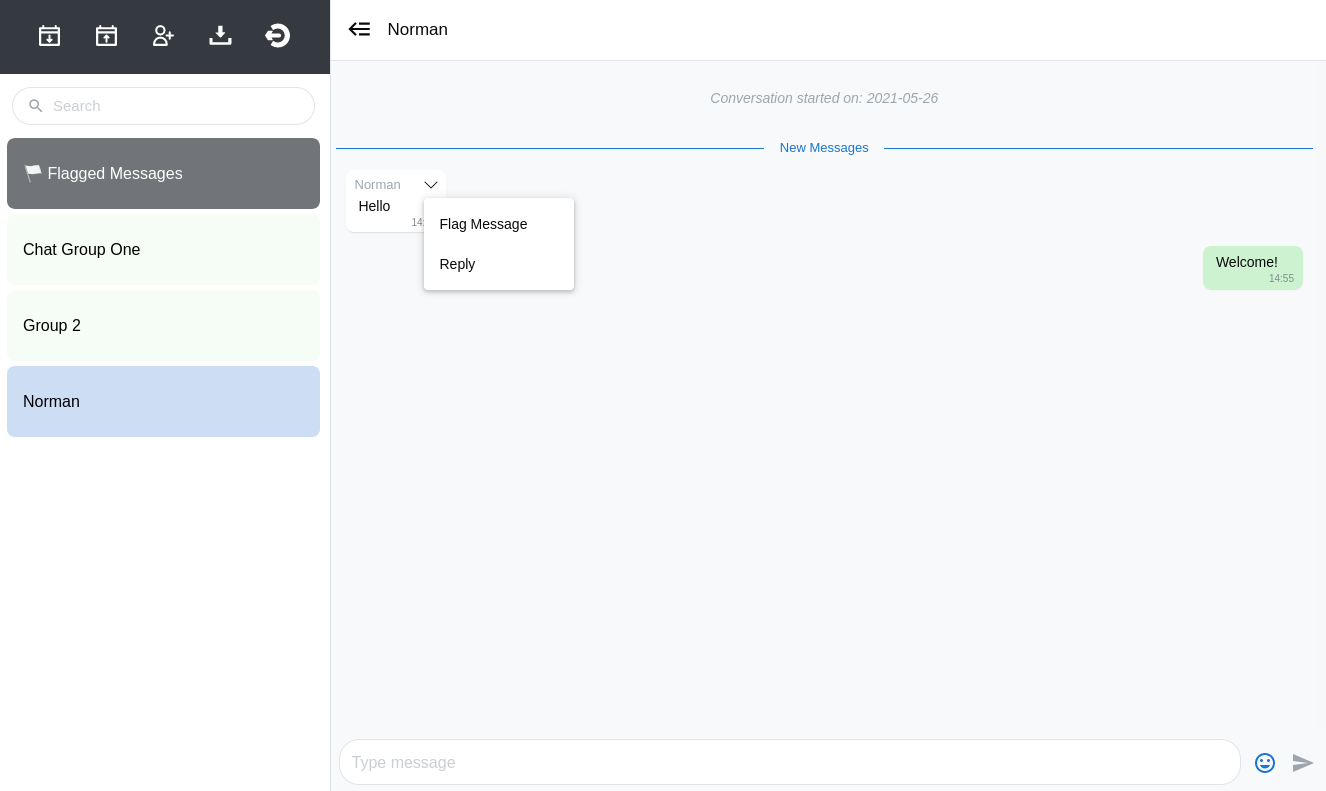
Flagged messages are listed under “Flagged Messages” in the panel on the left.
Note
Under “Flagged Messages”, users will only see the messages that they themselves flagged; they will not see the messages flagged by other users.
In exported study data, messages flagged by any user are marked as flagged.
Exporting study data
Click the “Export” icon to download all messages. mPACT will generate a CSV file that includes the senders’ study participant ID (blank if participant details have not been uploaded for that participant) and message details.